How to Coach The Pole Vault
Discover the ultimate guide to coaching high school pole vaulting, covering essential techniques, safety measures, and drills to help athletes excel. Learn about grip, pole carry, approach runs, and more.

The Ultimate Guide to Coaching High School Pole Vault
Coaching high school pole vault requires a comprehensive understanding of technique, safety, and athlete development. This guide draws on expert knowledge to provide coaches with the tools they need to help their athletes succeed.
1. The Grip
The grip is your connection to the pole and foundational to a successful pole vault. Athletes should grip the pole with their hands shoulder-width apart, with the top hand palm up and the bottom hand palm down. This setup ensures balance and control during the vault.
Key Drills:
- Grip the pole with the top hand and turn sideways to the pit, then add the bottom hand underneath the armpit of the top arm.
- Hold the pole horizontally across the body, with hands shoulder-width apart, and pull the pole to the chest to check grip placement.
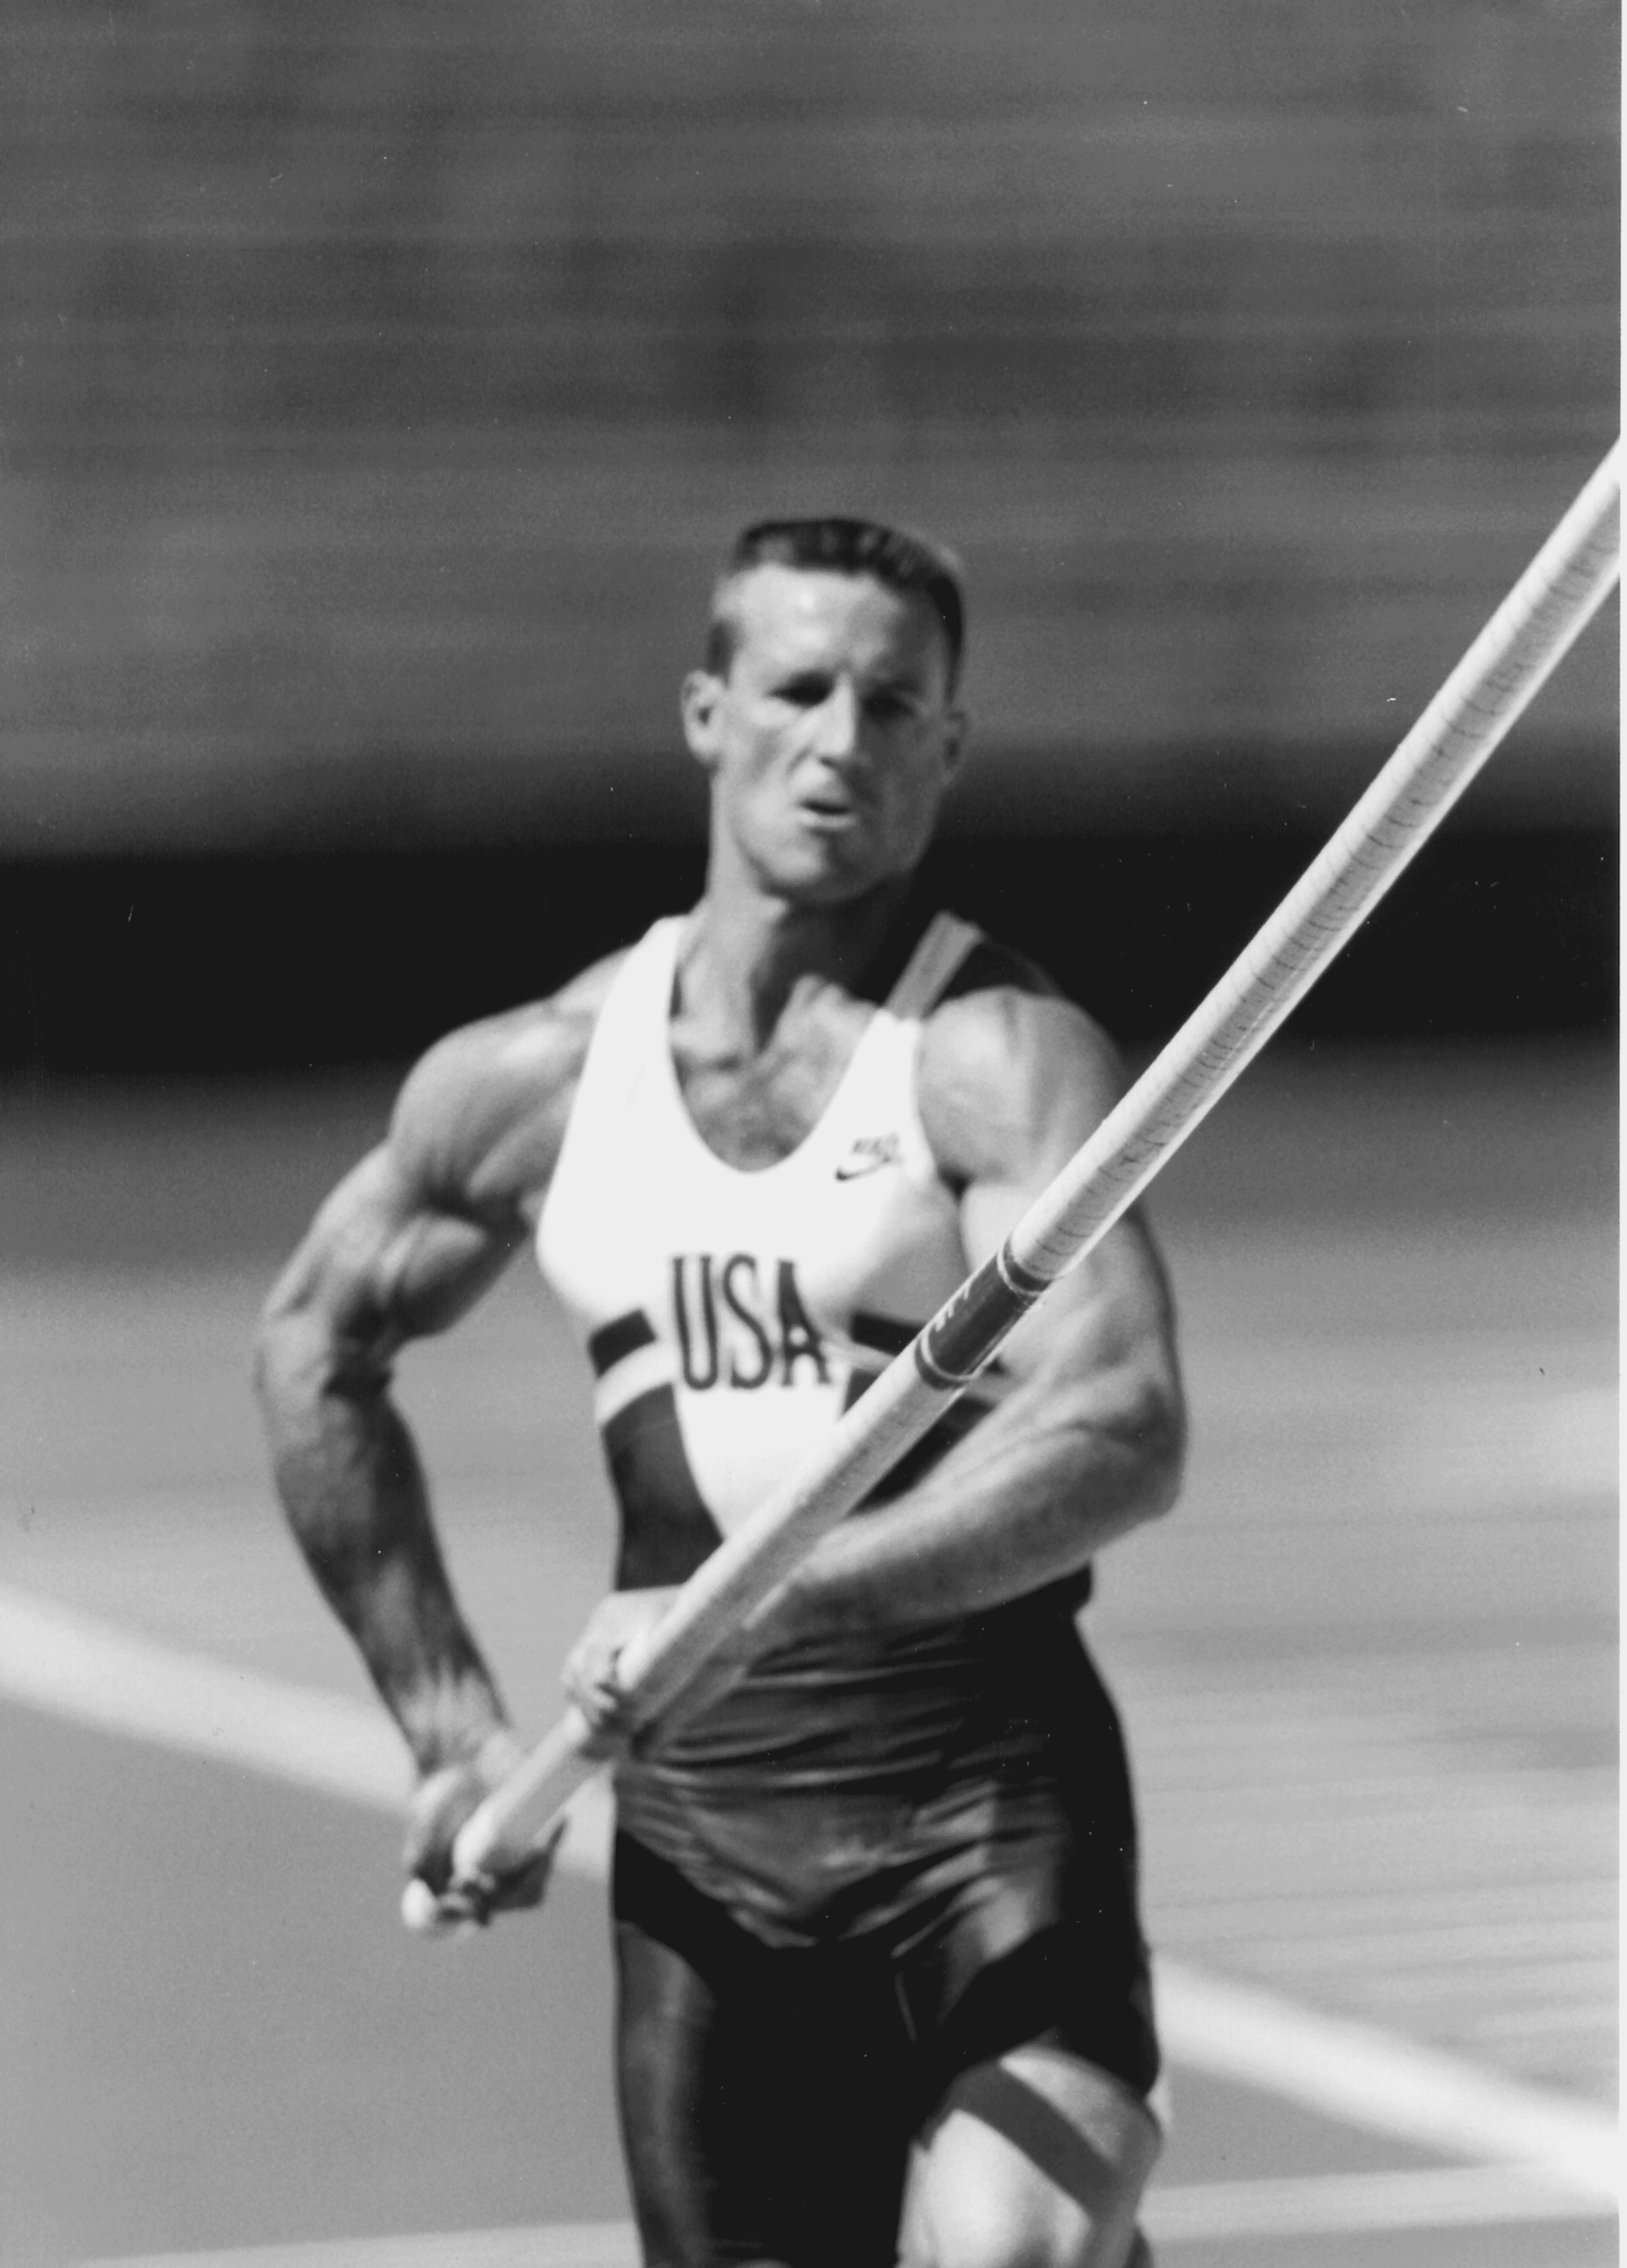
2. The Pole Carry
A proper pole carry allows athletes to maintain top speed during their approach. The pole should be angled slightly across the body, with the top hand near the hip and the bottom hand in front of the chest, forming right angles with the elbows.
Key Drills:
- Practice carrying a broomstick in front of a mirror to check hand and elbow positions.
- Use a weighted pole to improve balance and strength, keeping the pole tip raised.
3. The Approach Run
The approach run must generate enough speed and power for a successful vault. Beginners should start with no more than five take-off steps, increasing gradually as they improve. The run should start slowly and build to maximum speed at take-off.
Key Drills:
- Walk in place with correct posture, then stride and accelerate over 40 yards, focusing on maintaining form.
- Practice the approach run with the pole, emphasizing rhythm and consistency.
4. The Plant
The plant converts horizontal motion into vertical lift. As the vaulter approaches the take-off point, both hands should drive upward. The pole tip lands in the box, and the vaulter jumps off the runway.
Key Drills:
- The 3-Step Drill: Start with the pole parallel to the runway, lifting the pole and body upward in three steps.
5. The Take-Off and Drive Swing
A powerful take-off and drive swing are crucial. The vaulter should keep the top arm straight and drive the pole forward/upward, forming a reverse "C" shape with their body.
Key Drills:
- Short run vaults with a low grip to practice the take-off and drive swing without bending the pole.
6. The Swing-Up
The swing-up fully inverts the vaulter. The take-off leg swings through as the hips rise, with the head and shoulders dropping to allow full inversion.
Key Drills:
- Rope swings and high bar exercises to practice inverting and maintaining form.
7. Extension-Pull-Turn
This phase maximizes height. As the vaulter swings up, the lower arm pulls down, and the top arm pulls and turns the body around the pole.
Key Drills:
- Use a vault trainer or rope to practice pulling and turning to a handstand position.
8. The Fly-Away
The fly-away completes the vault, with the vaulter pushing off the pole and clearing the crossbar.
Key Drills:
- Practice backward rolls and handsprings to simulate the fly-away.
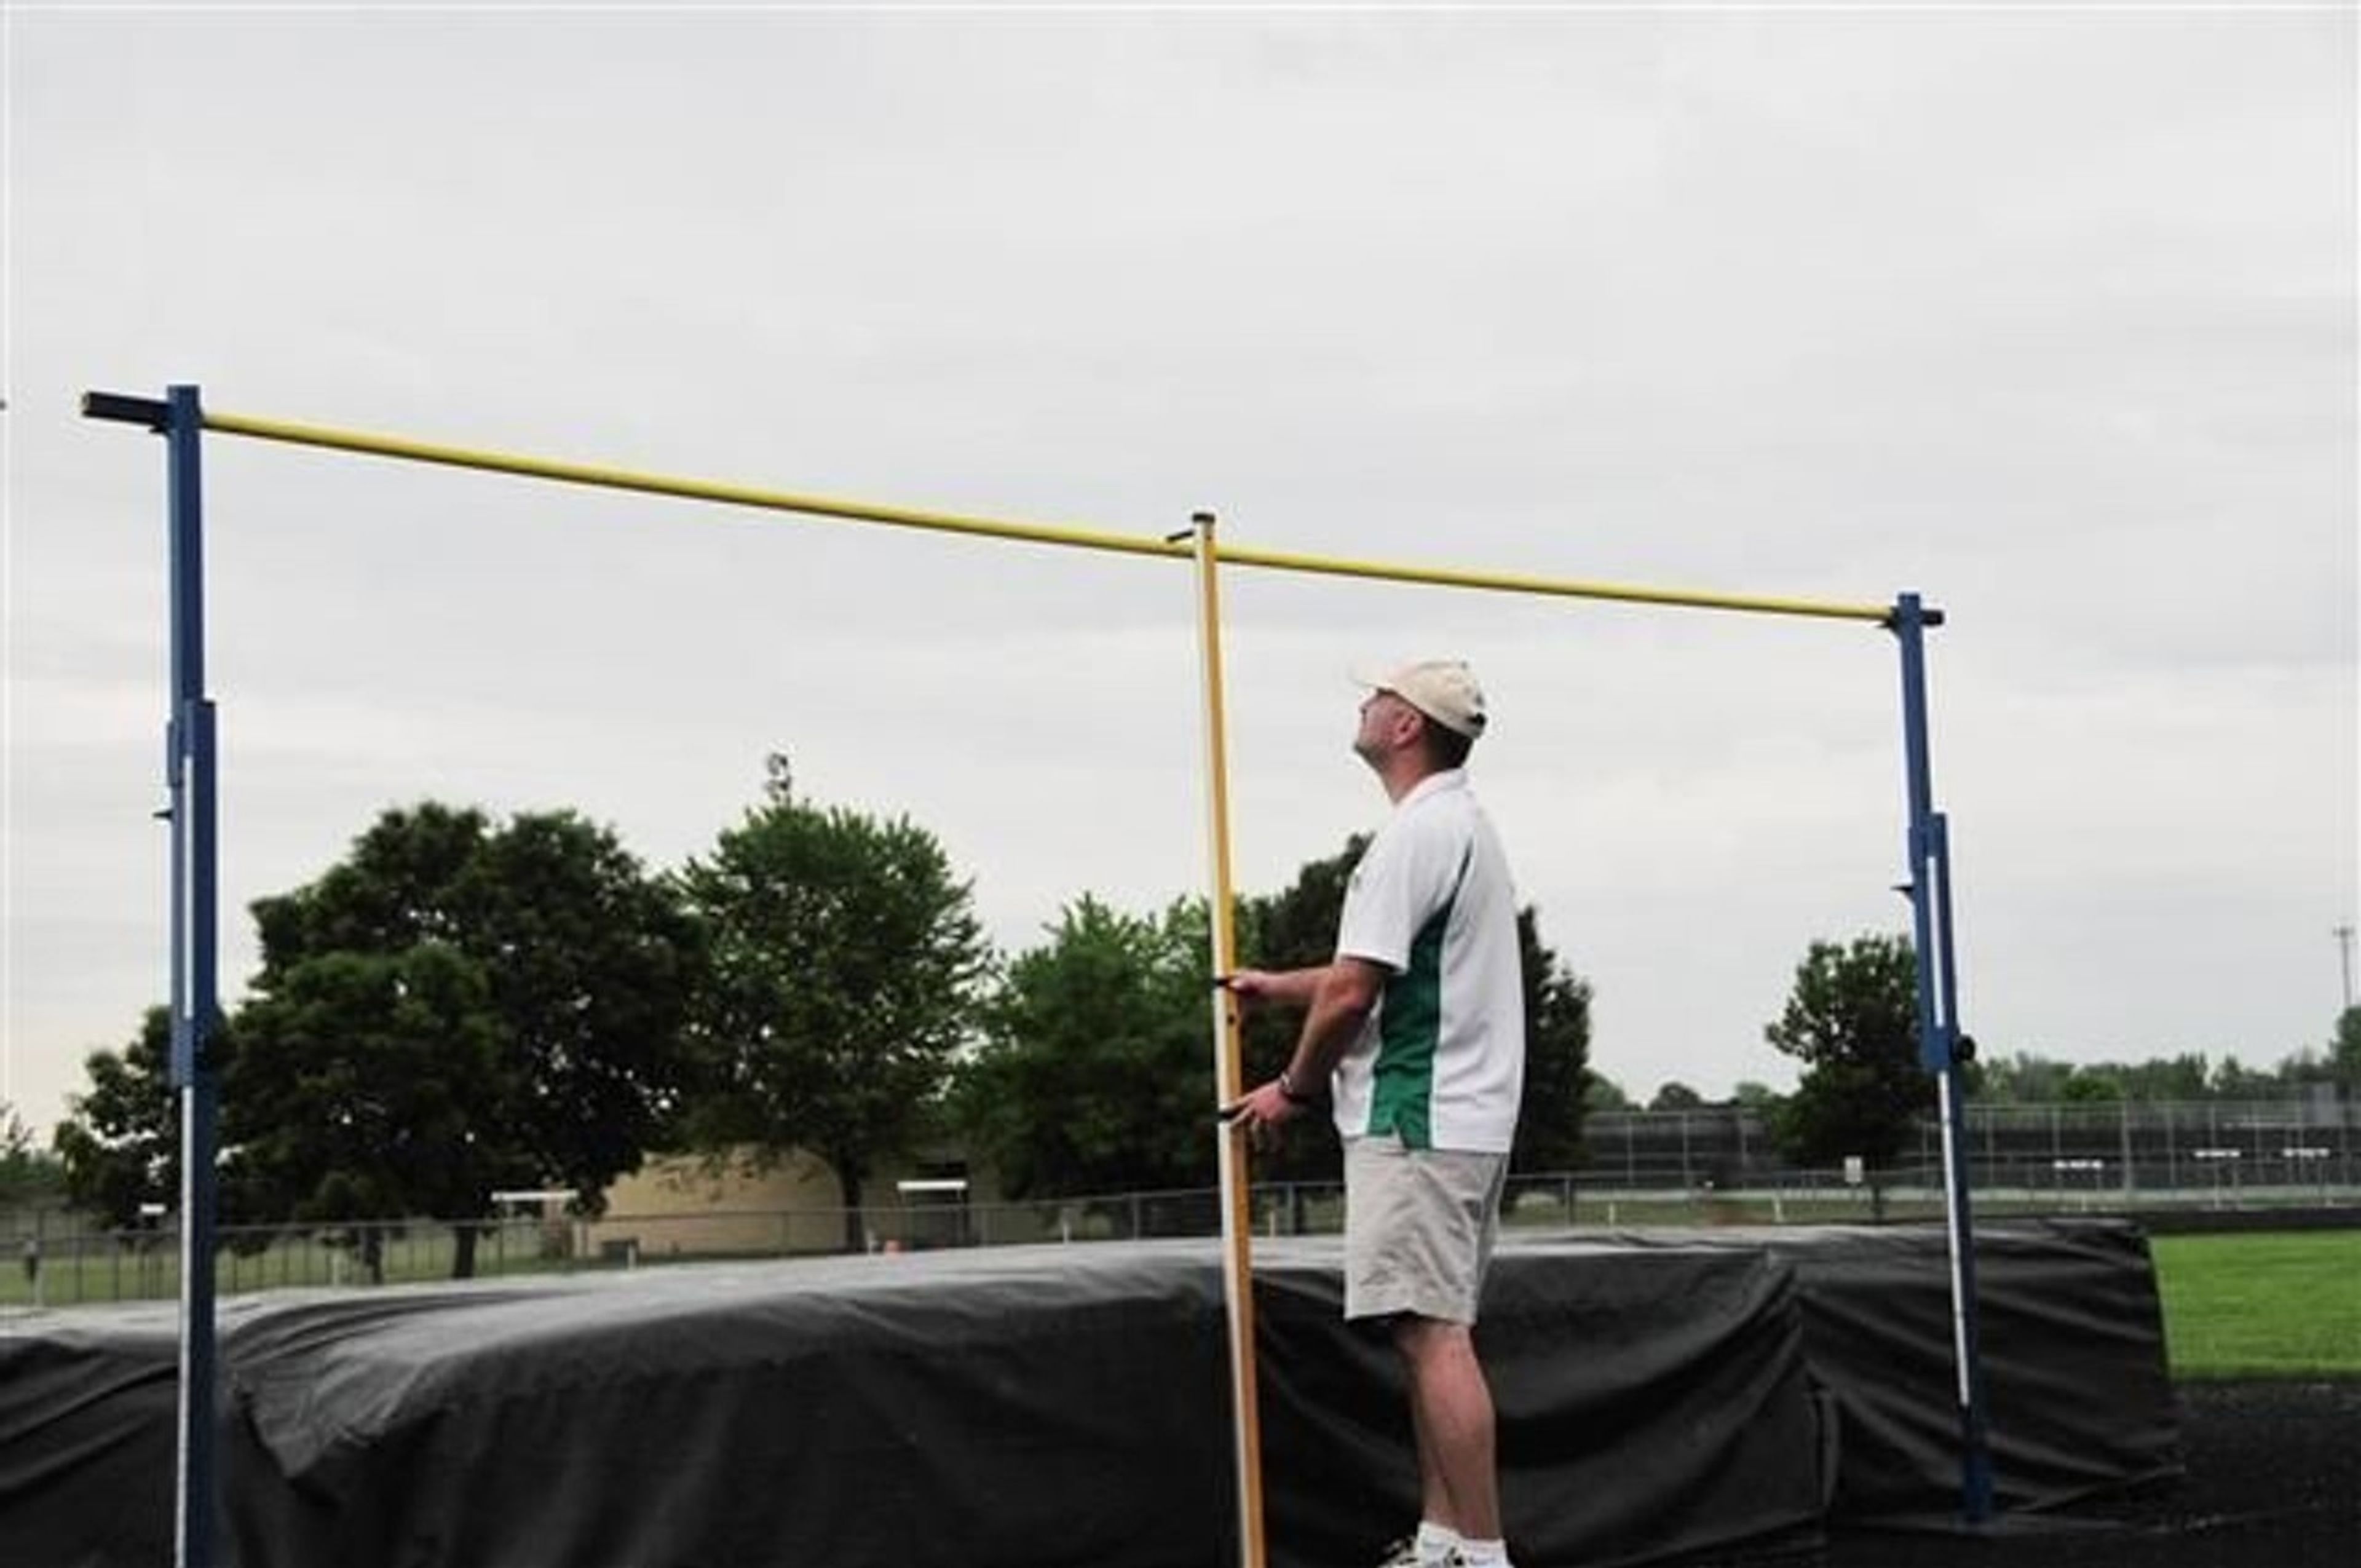
Safety and Equipment
- Ensure all equipment meets safety standards.
- Always supervise athletes during practice.
- Regularly inspect poles and landing pads for damage.
By focusing on these key aspects and incorporating drills into your training sessions, you can help high school athletes develop the skills and confidence needed to excel in pole vaulting.


 Reaching New Heights: Your Source for Pole Vault News, Technique, Training, Poles 7 More